The ticket detail consists of several widows which together make up the user interface. Every part provides an information about a ticket or allows changing specific elements.
TICKET DETAIL
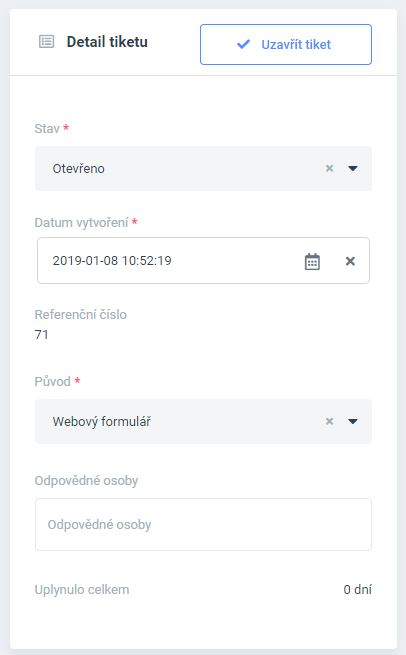
The first control block allows performing following actions:
- Close or open a ticket
- Display/change a ticket status
- Display/change a date of issue
- Display a reference number
- Display/change a ticket origin
- Display/change a responsible person
- Display a number of days passed since the last response
CONTACT DETAILS – CLIENT
The following block allows performing following actions:
- Display/change client information
- Display a client status – new or verified client
- Display/change a name, a surname, a company, an e-mail and a phone
If the client has been already registered by the system, all details will be automatically uploaded from the Client module and cannot be edited.

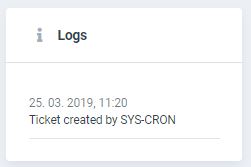
LOGS
This block allows recording the latest changes that have been performed by the Ticketing System users.
TICKET
The most important block is the communication between the user and the client via messaging threads. Following actions can be performed:
- Displaying/changing an internal ticket name
- Displaying/changing a subject of the ticket
- Communicating through a WYSIWYG editor
- Uploading attachments
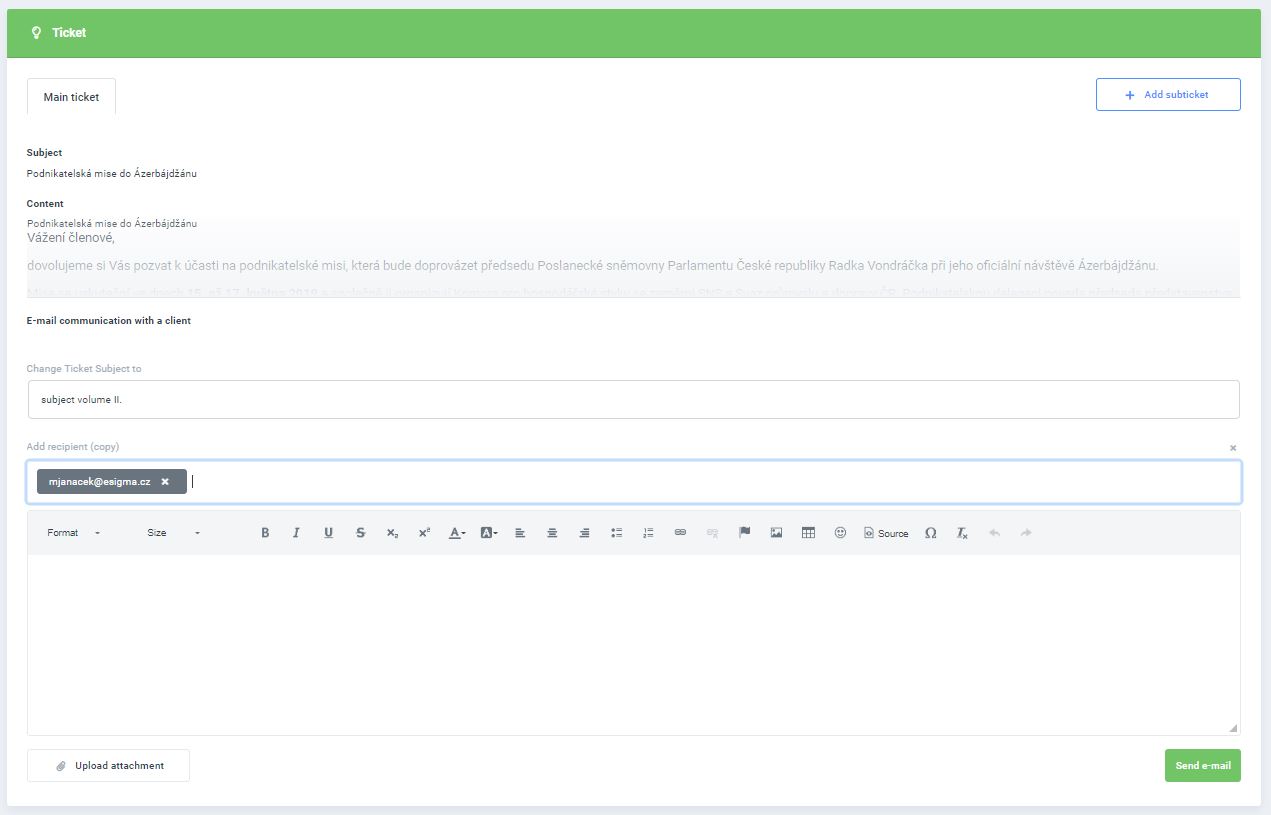
The ADD SUBTICKET button, located at the upper corner of the interface can be used to create a separate ticket thread, for example if the ticket is more complex and would benefit from splitting up into several parts.
You can change ticket subject by this input below named CHANGE TICKET SUBJECT TO (An old subject can be seen as a hint when you mouse over it) and add recipient for this communication by input ADD RECIPIENT (COPY)
A message to the client can be sent via SEND E-MAIL button.
INTERNAL TEAM CHAT
This function allows messaging between the competent ticket system users. As on the first occasion, WYSIWYG editor can be used for easy editing and adding attachments. The internal chat feature can be also used for creating sub-threads in the chat window.
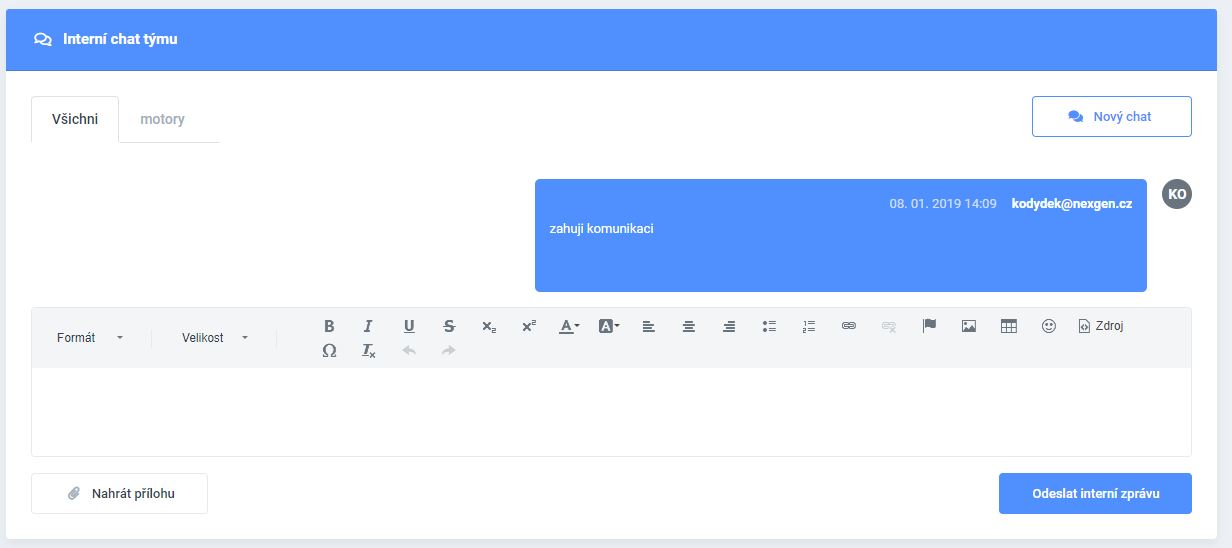
A message to other users involved in resolving a particular ticket can be submitted via SEND INTERNAL MESSAGE button.
After filling out all fields it is important to save all edits. The SAVE or SAVE AND RETURN buttons can be used to save the last action. An autonomous check is performed automatically by the system during a saving process to verify details of all email connections. The process of saving won’t be completed if invalid details are detected by the system.
An important note: the RETURN button in the BROWSER will abort the saving process and will NOT SAVE the last performed action.

